Click on the image above to see a PDF of the catalog! Don't have a demonstrator yet? Request a copy here!
| Hand Stamped by Cheryl |
|
|
Click on the image above to see a PDF of the catalog! Don't have a demonstrator yet? Request a copy here!
0 Comments
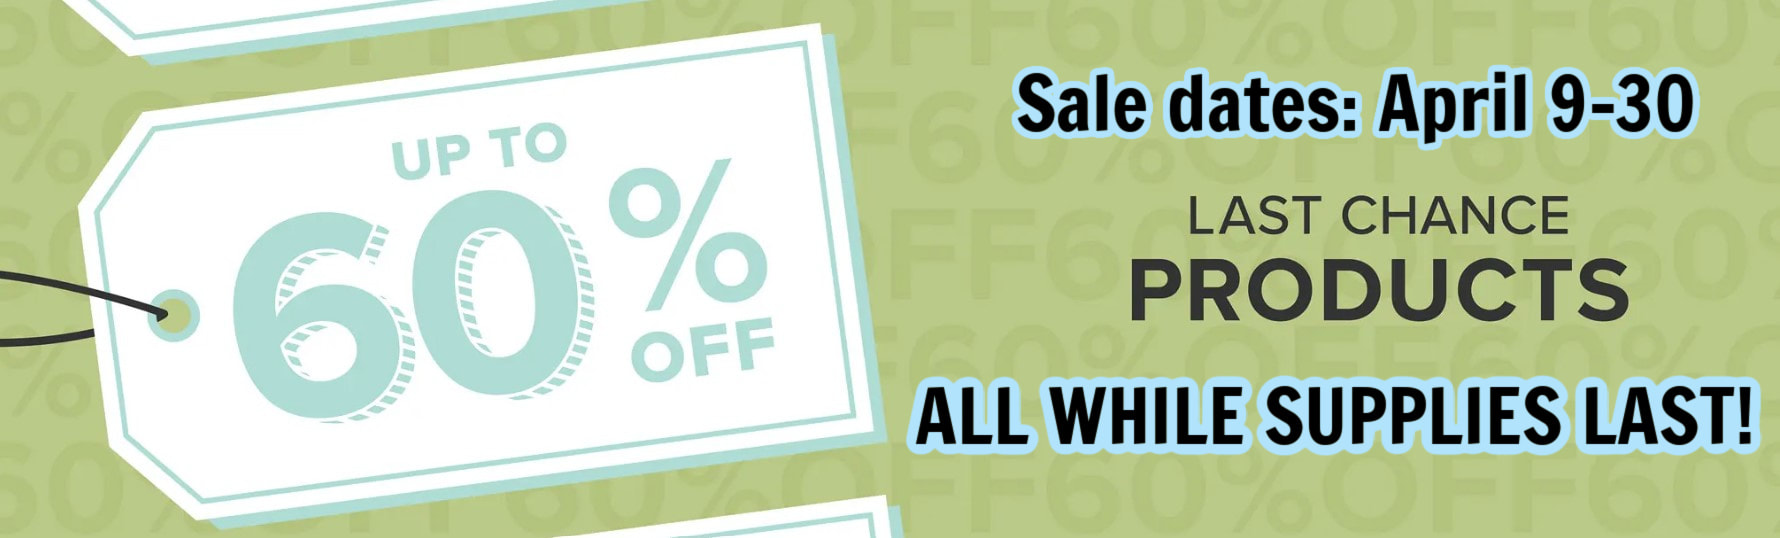
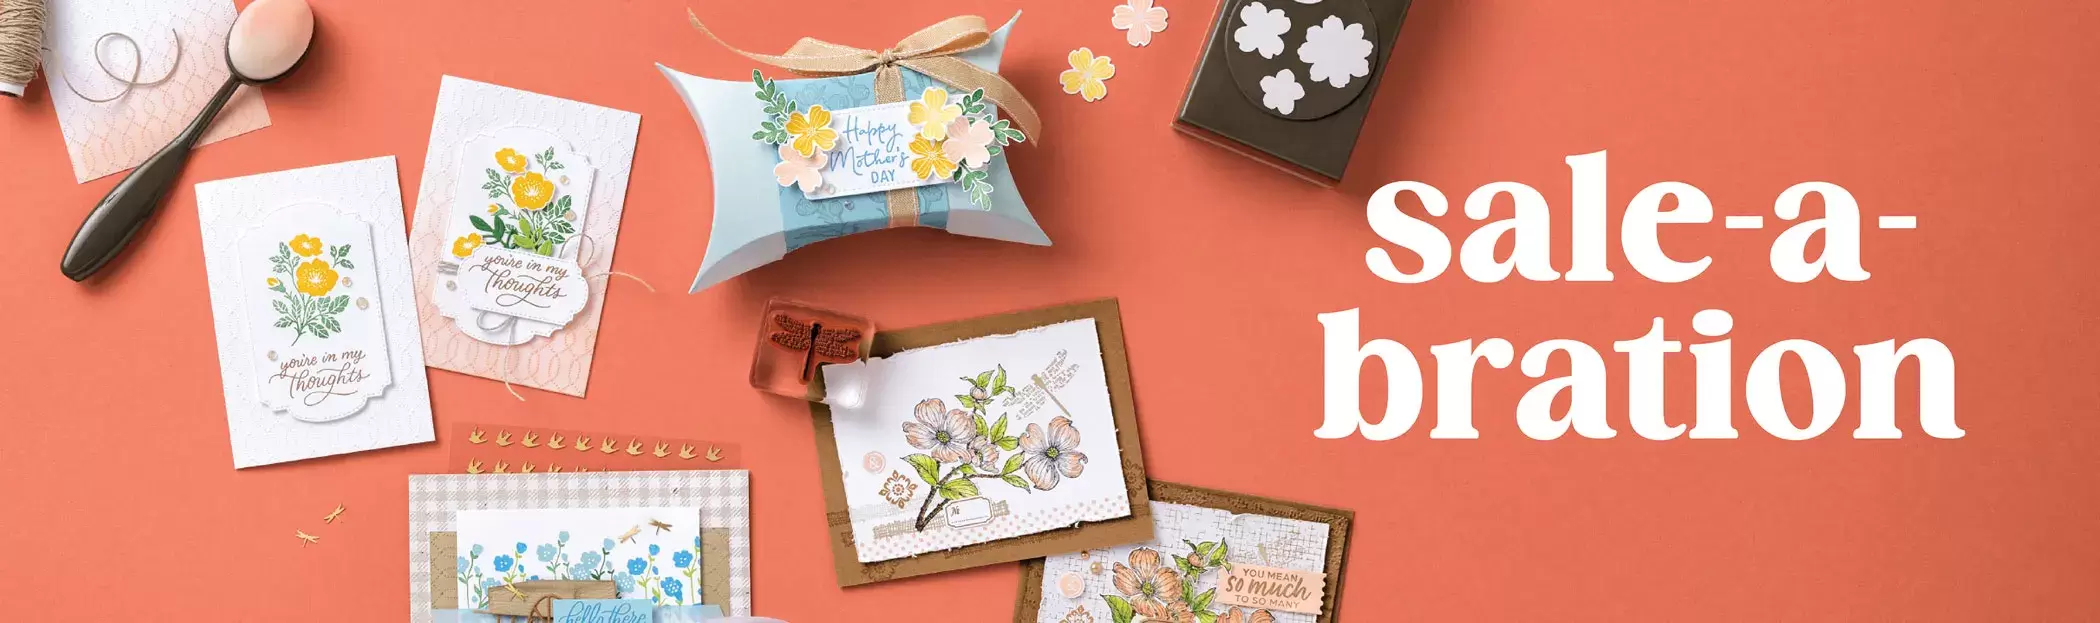 Click each picture below for more information on shopping, hosting, or joining during Sale-A-Bration! Shop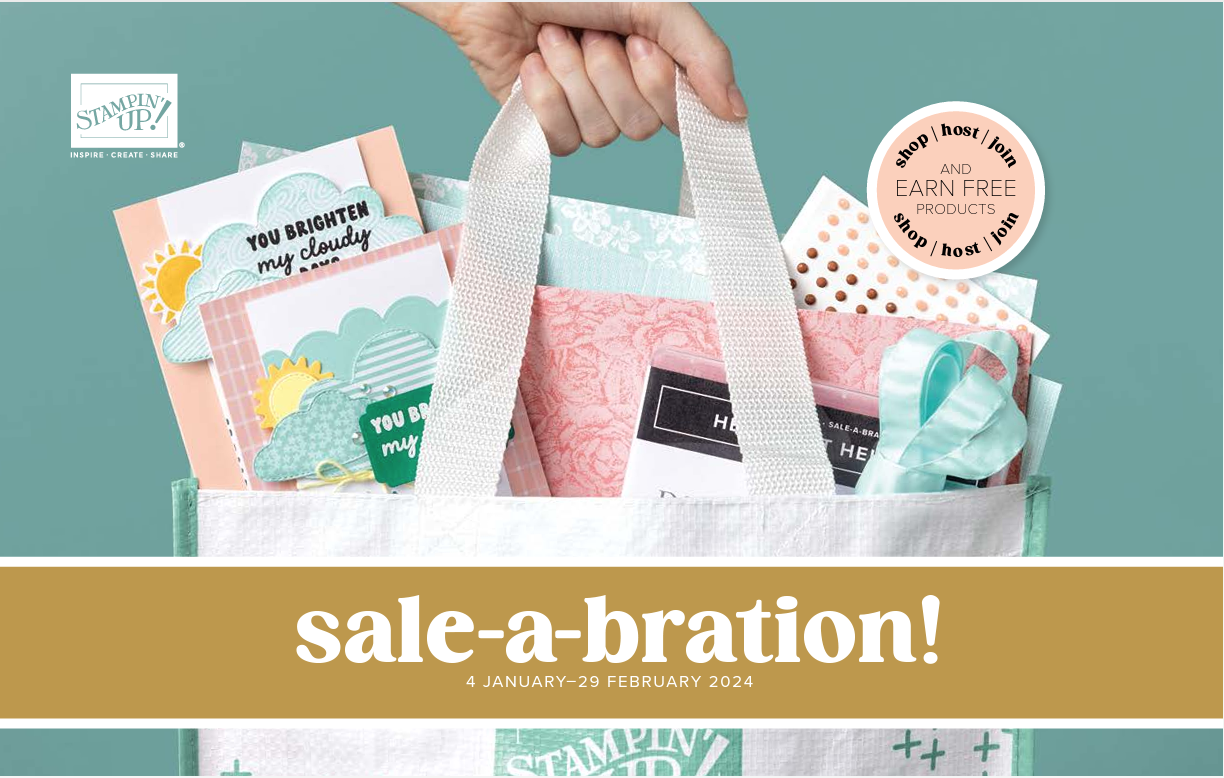 Host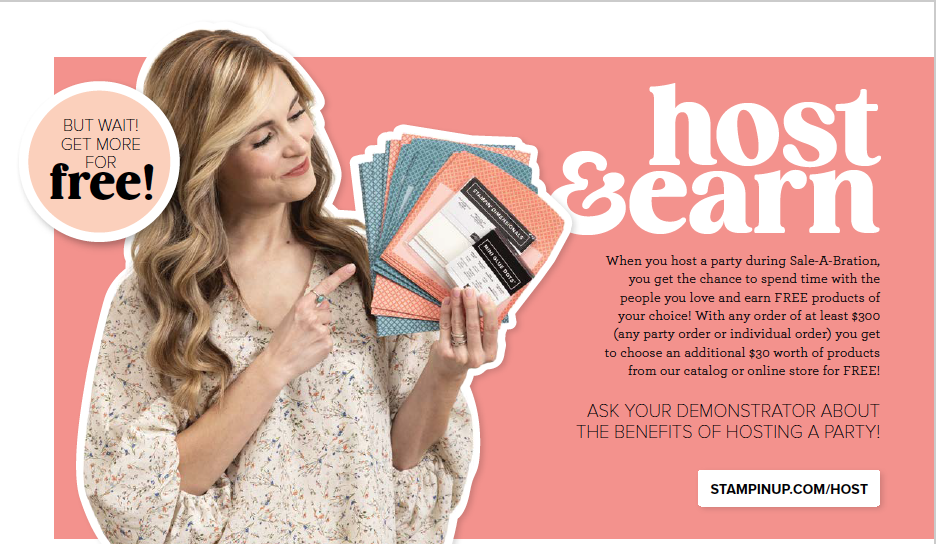 Join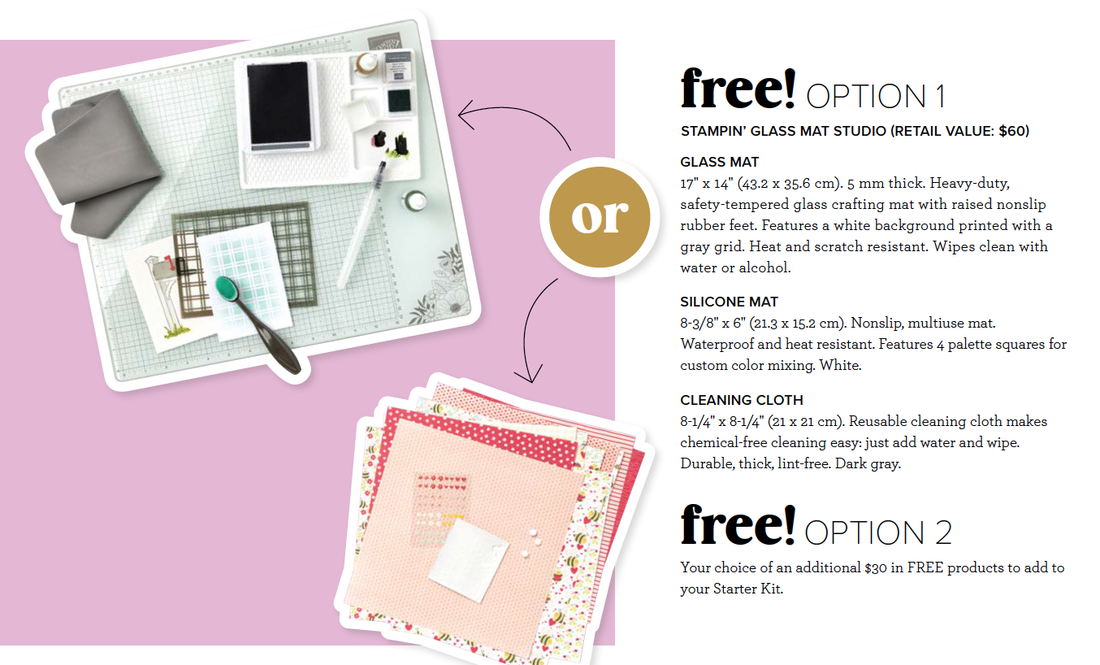 
Join us for a DIY class to make a 12x12 "sampler" which you can a display. I'll have all the supplies cut and ready for you to customize yours. This is the 2nd class in a series where we'll be making more samplers to change out our display piece. So if you love crafting, join us! If you are interested in other themes, let me know here to help me decide which sampler class to offer next! Cost is $25 (or free with a $50+ order at the event). Frame not included. White 12 x 12 frames can be added on at registration for $10 (while supplies last). 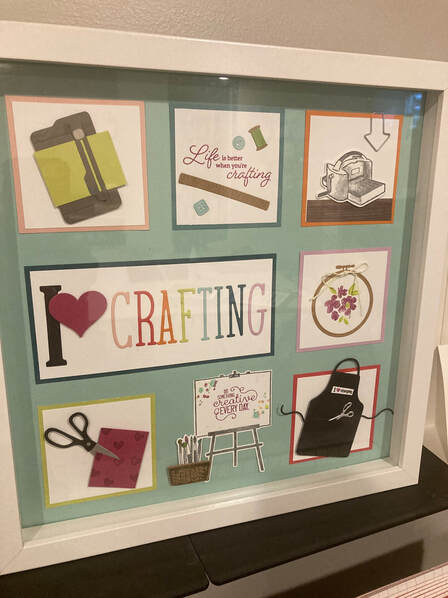 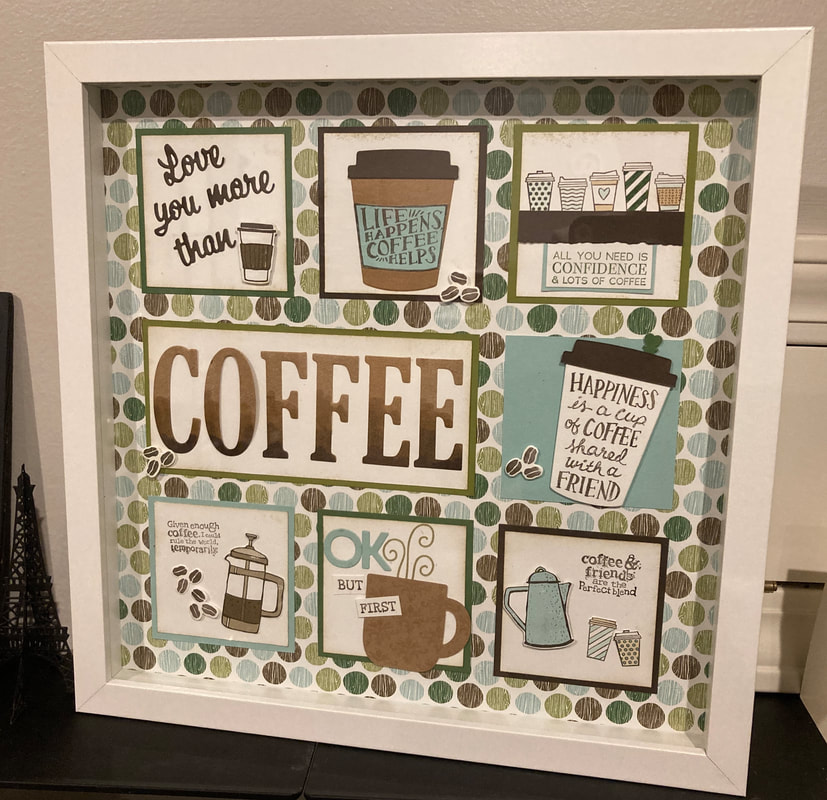 Join us for a DIY class to make a 12x12 "sampler" which you can a display in a shadow box for a fun home decor idea. I'll have all the supplies cut and ready for you to customize yours.
This is the first class in a series where we'll be making more samplers to change out our display piece. So if you love coffee, join us! If you are interested in other themes, let me know here to help me decide which sampler class to offer next! Cost is $25 (or free with a $50+ order at the event). Frame not included. White 12 x 12 frames will be available for purchase at the event for an additional $10 (while supplies last). |
AuthorCheryl Piotrowski 
|