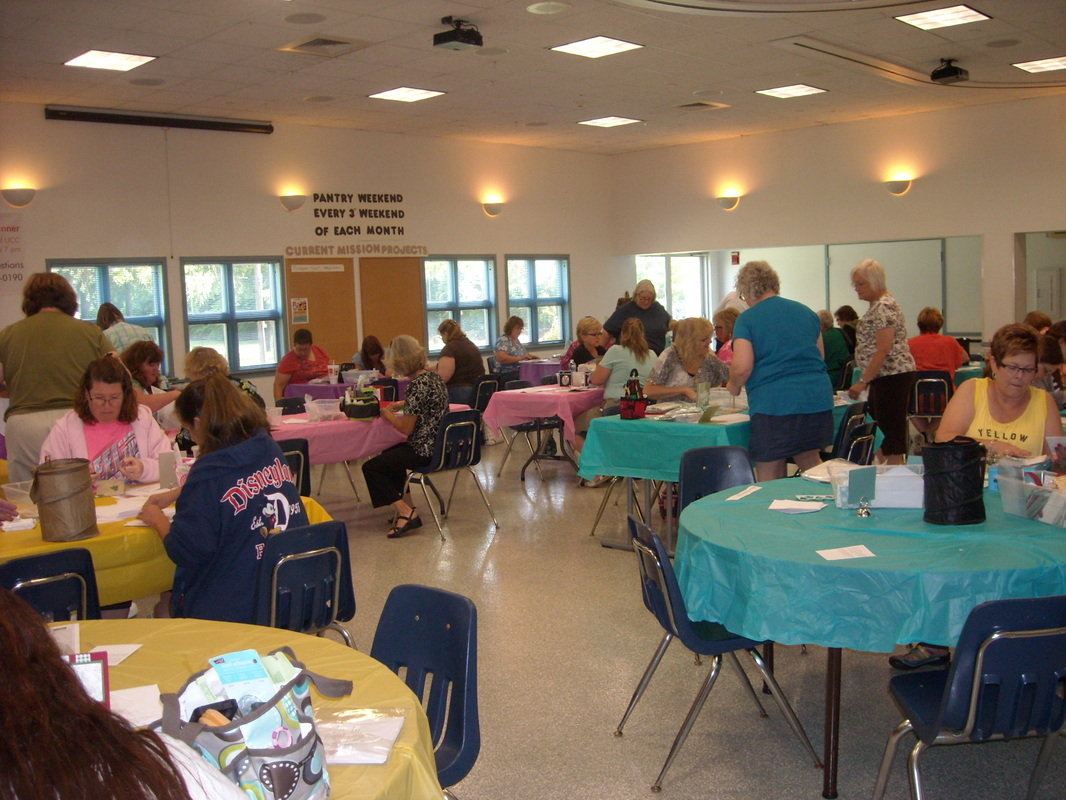
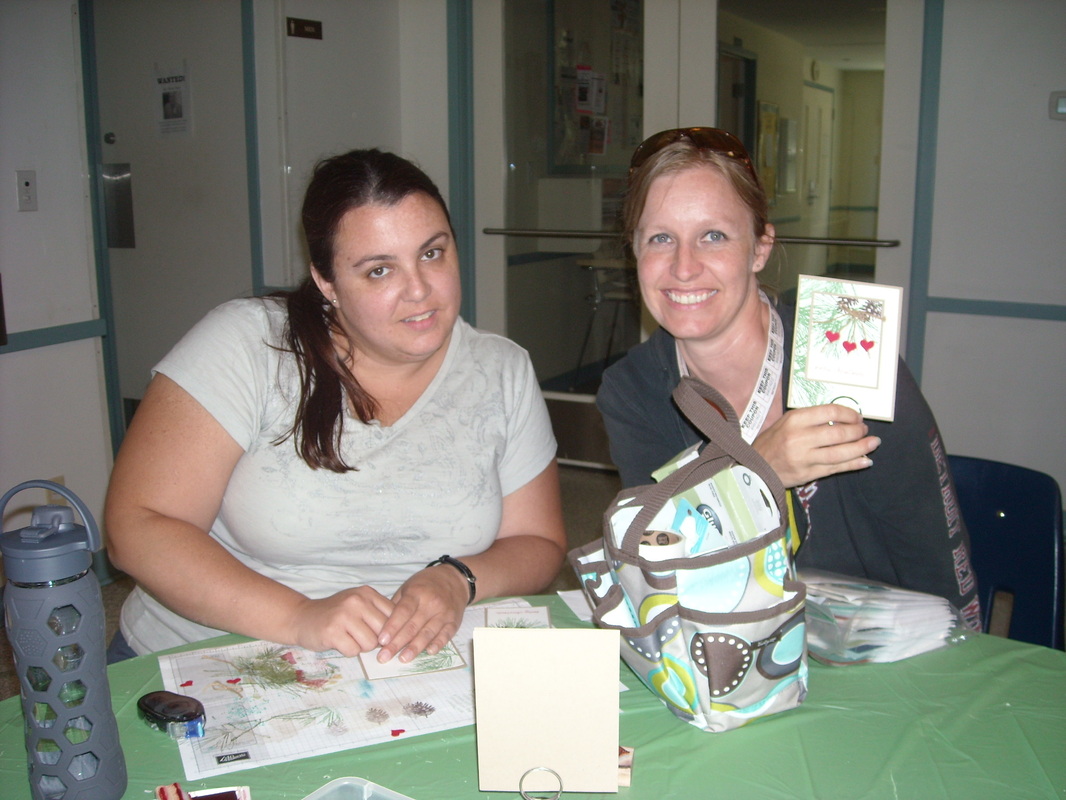
Last weekend, I was able to make the trip with my friend Heather to Illinois for a card making weekend! We arrived Friday night, just in time for my upline, Chris', techniques club. We made these awesome cards:
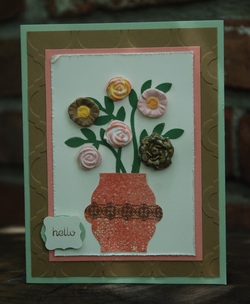
Technique #1: Clay Flowers
I miss making vintage inspired cards at Chris' classes! She used the Simply Pressed Clay and Molds to make these flowers. They are colored with markers, and the one on the bottom right was heat embossed with gold embossing powder. The leaves are from the Bird Punch. The vase was made with a framelit trimmed down, heat embossed with gold embossing powder and then clear embossed all over to give it a shiny look. I have never used clear embossing powder, so I love trying new things!
I miss making vintage inspired cards at Chris' classes! She used the Simply Pressed Clay and Molds to make these flowers. They are colored with markers, and the one on the bottom right was heat embossed with gold embossing powder. The leaves are from the Bird Punch. The vase was made with a framelit trimmed down, heat embossed with gold embossing powder and then clear embossed all over to give it a shiny look. I have never used clear embossing powder, so I love trying new things!
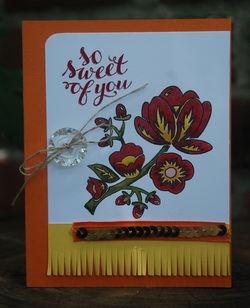
Technique #2: Solid Image Tracing Technique
This adorable card was stamped using a solid image stamp from the Hello Darling set in a light color. Then we used a fine tip black marker like the Project Life Journaling Pen to trace the image. Then, the image was colored in using Blendabilities to create this unique look! The greeting is from the Hostess set Hello There stamped in Cherry Cobbler. The embellishments use the Fringe Scissors, Vintage Buttons, Linen Thread, and Gold Sequins.
This adorable card was stamped using a solid image stamp from the Hello Darling set in a light color. Then we used a fine tip black marker like the Project Life Journaling Pen to trace the image. Then, the image was colored in using Blendabilities to create this unique look! The greeting is from the Hostess set Hello There stamped in Cherry Cobbler. The embellishments use the Fringe Scissors, Vintage Buttons, Linen Thread, and Gold Sequins.
After staying with Chris, the next day we all headed to our upline, Gelnda Travelstead's Sneak Peek Holiday Catalog Stamping Event where we made 20 different cards using 5 new stamp sets from the forthcoming Holiday Catalog (which starts August 28, 2014)!
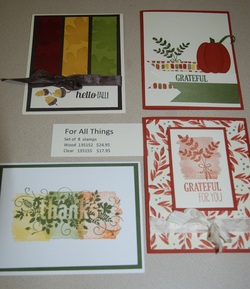
Stamp Set #1: For All Things
I definitely think I could get a lot of mileage out of this set! I love the watercolor look and the versatility. Notice how you can use ink to get the whole text "Grateful for You" (bottom right) or color with your marker to get just one word "Grateful" (top right).
I definitely think I could get a lot of mileage out of this set! I love the watercolor look and the versatility. Notice how you can use ink to get the whole text "Grateful for You" (bottom right) or color with your marker to get just one word "Grateful" (top right).
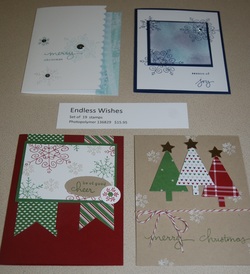
Stamp Set #2: Endless Wishes
This stamp set has been a popular photopolymer which has returned to the Holiday Catalog. I love the look of white snowflakes on Crumb Cake cardstock, as seen on the bottom right. The new Tree Punch makes this a cute, easy card to mass produce.
This stamp set has been a popular photopolymer which has returned to the Holiday Catalog. I love the look of white snowflakes on Crumb Cake cardstock, as seen on the bottom right. The new Tree Punch makes this a cute, easy card to mass produce.
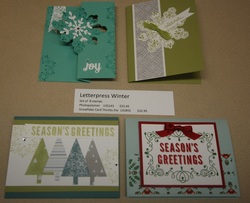
Stamp Set #3: Letterpress Winter
This set makes a sort of snowflake image. I love the fact that it is photopolymer which means you can arrange the stamps on your clear blocks how you want. So in one card the season's greetings is stacked and on the other it is on one line.
This set makes a sort of snowflake image. I love the fact that it is photopolymer which means you can arrange the stamps on your clear blocks how you want. So in one card the season's greetings is stacked and on the other it is on one line.
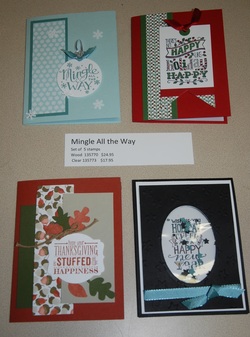
Stamp Set #4: Mingle All the Way
This set is one that I was left wishing I had bought. The card on the top left can be punched out with a punch and the other three used framelits. The bottom right was my first attempt at a shaker card. There is a clear bag in the window there with confetti stars that move when you shake it! A little difficult, but awesome!
This set is one that I was left wishing I had bought. The card on the top left can be punched out with a punch and the other three used framelits. The bottom right was my first attempt at a shaker card. There is a clear bag in the window there with confetti stars that move when you shake it! A little difficult, but awesome!
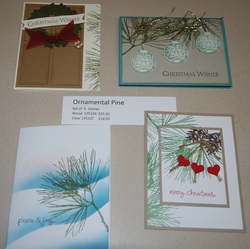
Stamp Set #5: Ornamental Pine
Of the stamps sets we used, this is the only one I had purchased, so you might see some of these cards at my Christmas card class in December. I love the wreath on the door card!
Of the stamps sets we used, this is the only one I had purchased, so you might see some of these cards at my Christmas card class in December. I love the wreath on the door card!
