VIP Clubs started back up in September and the Still Scenes bundle was a perfect technique to kick things off! To make your own snow globes, you will need some Snow Globe Shaker Domes and some things to shake like the new Ice Stamping Glitter and the Snowflake Sequins. Check out this video to see the new bundle from the 2019 Holiday Catalog!
| The first card we made used the bears and trees from the bundle. I used the new Puff Paint to add some snow to the trees. The DSP was retired from last year, but you could easily use the Buffalo Check background stamp to create the same effect. I messed up on the base of my globe, so it is a bit smaller than it should be. The sky was colored using Pool Party Blends and then added Snowfall Sequins to shake. Just make sure you glue your bears down well so they don't pop up and the sequins get lost behind! | 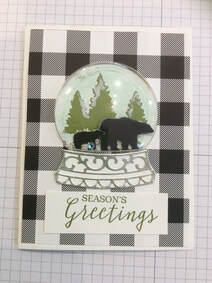 |
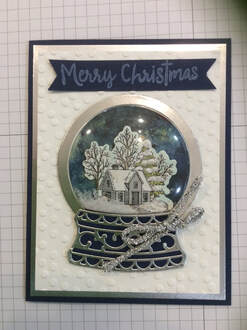 | The second card used the house from the bundle and was CASEd from this YouTube video. This tutorial explains how to use the Layering Circle Dies to make the frame around the globe. I used Blends to color the house, and added more Puff Paint. The sky background comes from a piece of the See a Silhouette DSP, which was made from Pigment Sprinkles. The sentiment was added from the Snowman Season stamp set, which would also be great for adding to the scene in your snow globe! I filled the globe with more sequins and some fake snow I had on hand. |
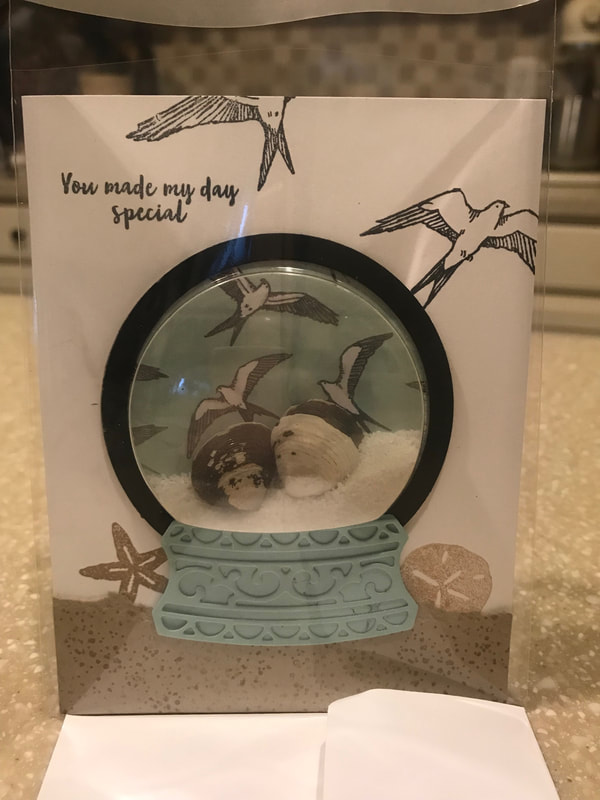
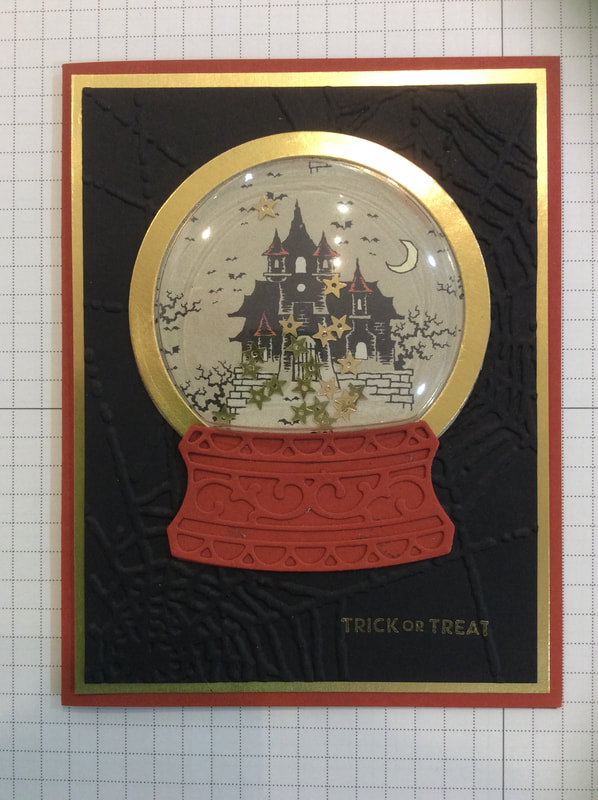
And for the third card, ladies could design their own or choose one of the options below. I made a beach scene using sand from the Dollar Store, shells I was about to throw away, and Sail Away trinkets (which you can't see in the picture). The images are all Paper Pumpkin stamps and the background was the Bird Ballad DSP. For the Halloween version, I used the Monster Bash DSP as the background and some stars I had laying around to shake. Next up for VIP is the Floating Image technique...let me know if you are interested in being a Guest VIP in October!
 |  |