| The first time I tried heat embossing over ten years ago, I was hooked! This month in VIP we tried some heat embossing techniques. This handout gives an overview of what you need to get started with heat embossing. The first card we made used the Stained Glass technique where you heat emboss on vellum, then turn the vellum over and color on the reverse side. We used the Humming Along stamp set and heat embossed in white. Then we used Stampin' Write markers in Daffodil Delight, Crushed Curry, Coastal Cabana, Bermuda Bay, and Pear Pizzaz to color the image. Finally, adhere the vellum down with glue dots so the adhesive won't show through. | 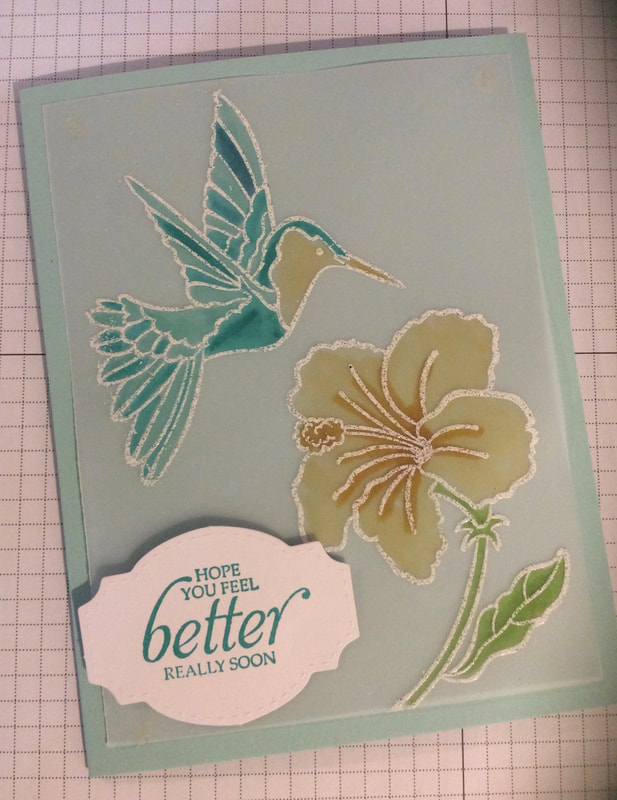 |
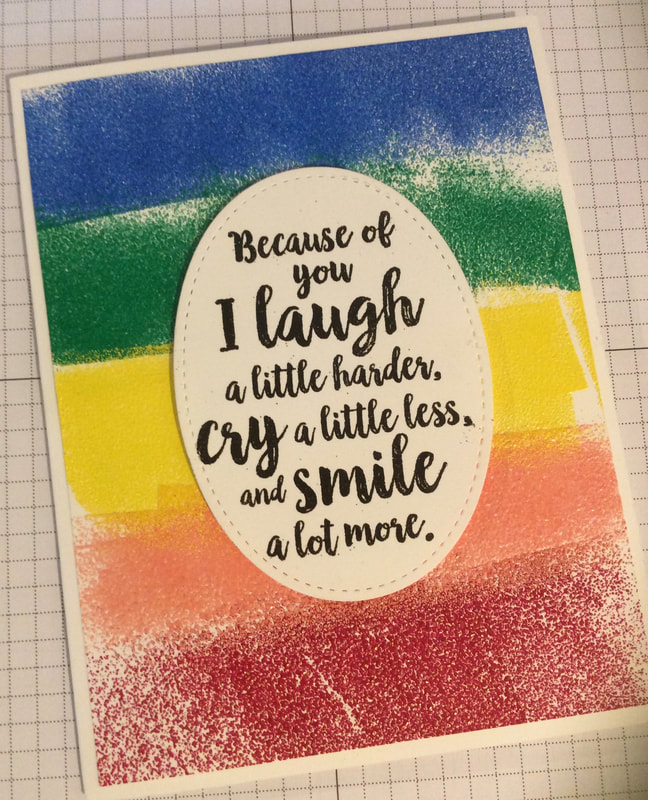 | The second card used a rainbow background made with the 2018-2020 In Color Embossing Powders. All five colors come in a cylinder tube. The powders are .25 oz., so smaller than the basic colors of embossing powders. We used the Versamark pad to just add a line and rub against Whisper White cardstock. Then we sprinkled the Lovely Lipstick powder and heat set with the Heat Tool. Then we did again the with next color, one at a time so as not to mix the embossing powders. We used the Friendly Conversations stamp set for the greeting. I heat embossed the image with black powder, but you can also stamp with a colored ink pad and then add clear embossing powder over the top. The greeting was cut out using the Stitched Shapes Framelits and popped up with dimensionals. |
| The last card we made used some retired products, like Tempting Turquoise cardstock, the Reverse Words stamp set and DSP from Sale-A-Bration a few years ago. We used three retired embossing powders: Pool Party, Melon Mambo, and Tempting Turquoise. This technique uses plastic straws, cut at an angle to serve as little spoons. You can then stamp the image in Versamark and use the straws to spoon the powder in a controlled pattern. All three colors were added at once, and then the excess powder was mixed and stored in a separate container. The "For You" stamp was then heat set with the powder mixture, so almost a lavender color. | 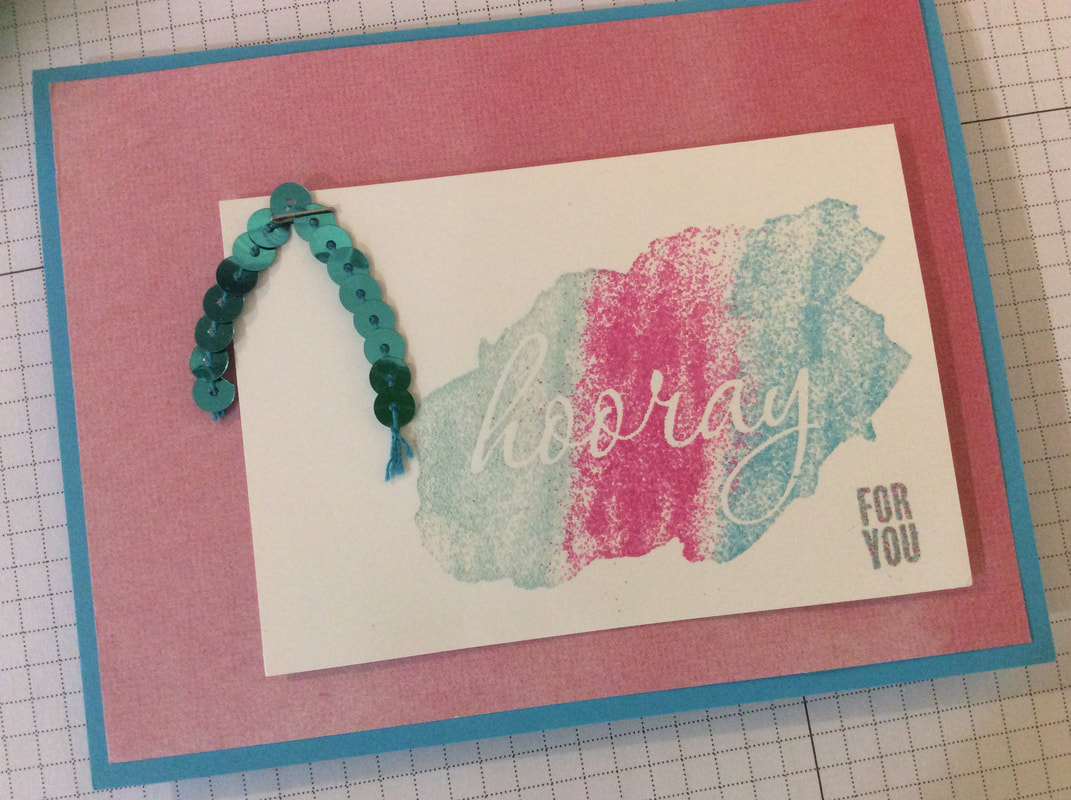 |
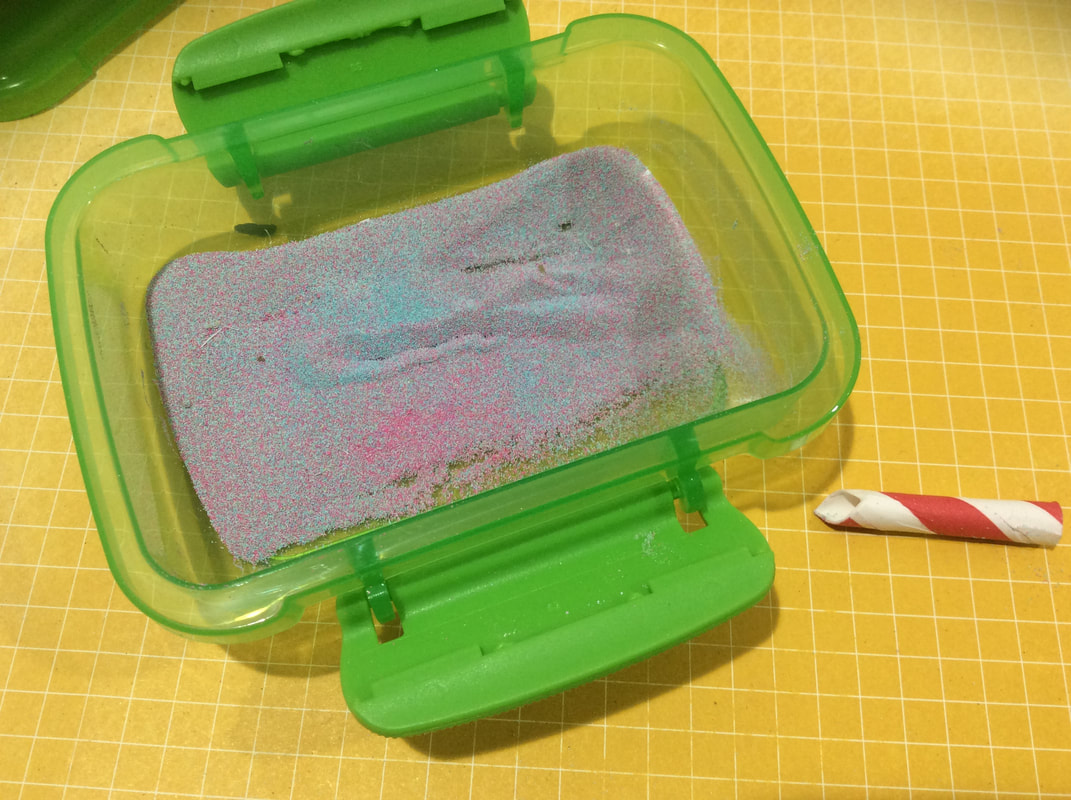 We also used the mixture of embossing powder to emboss the retired Swallowtail stamp to create a beautiful butterfly! Don't forget the embossing buddy to make sure the specks of powder don't end up in places you don't want! | 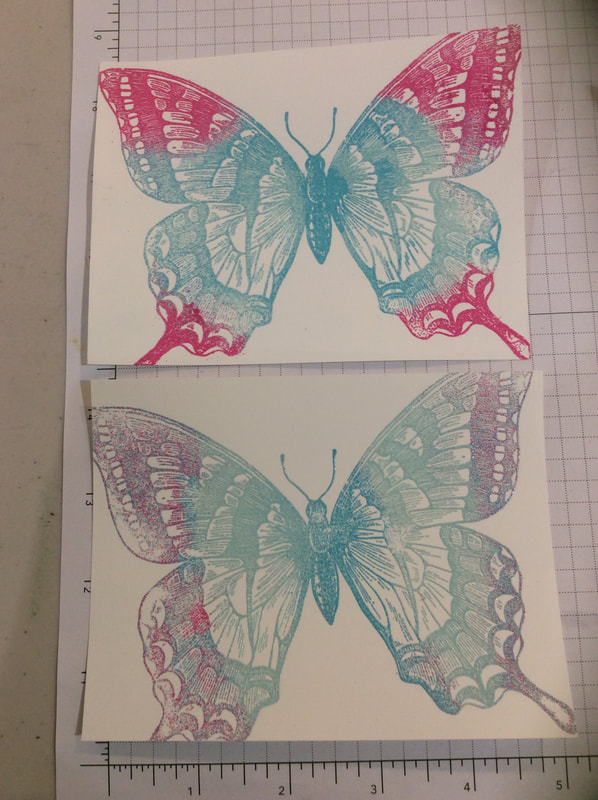 |