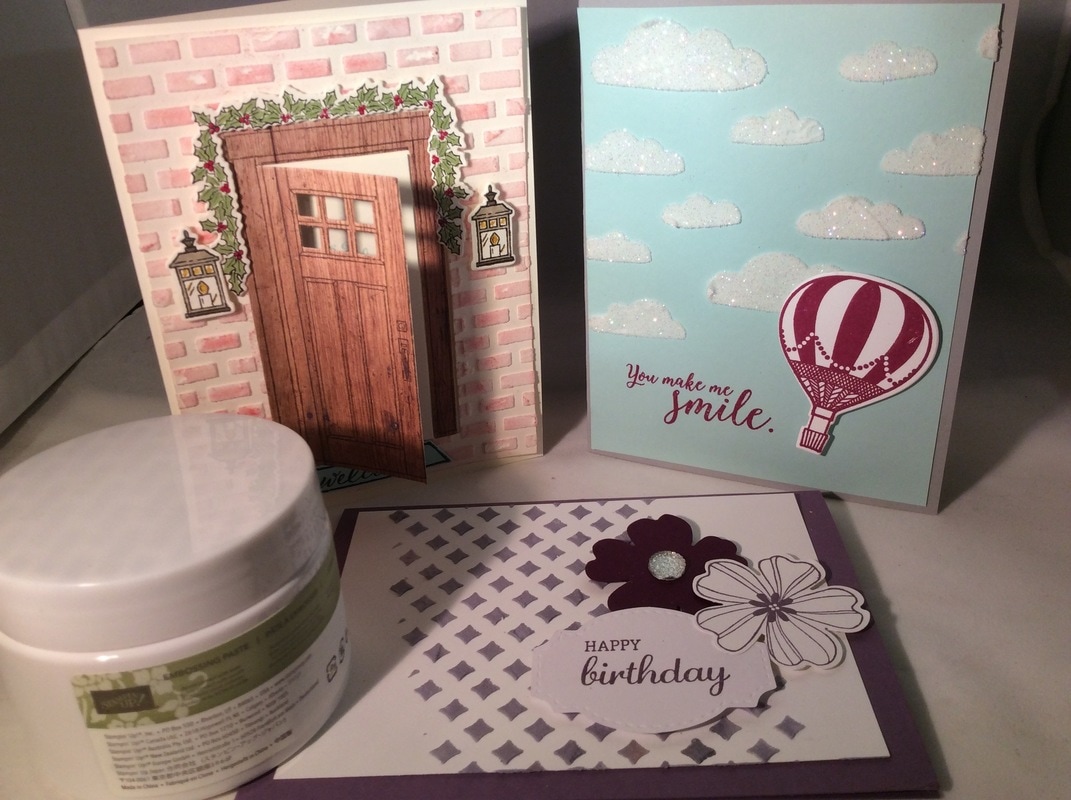
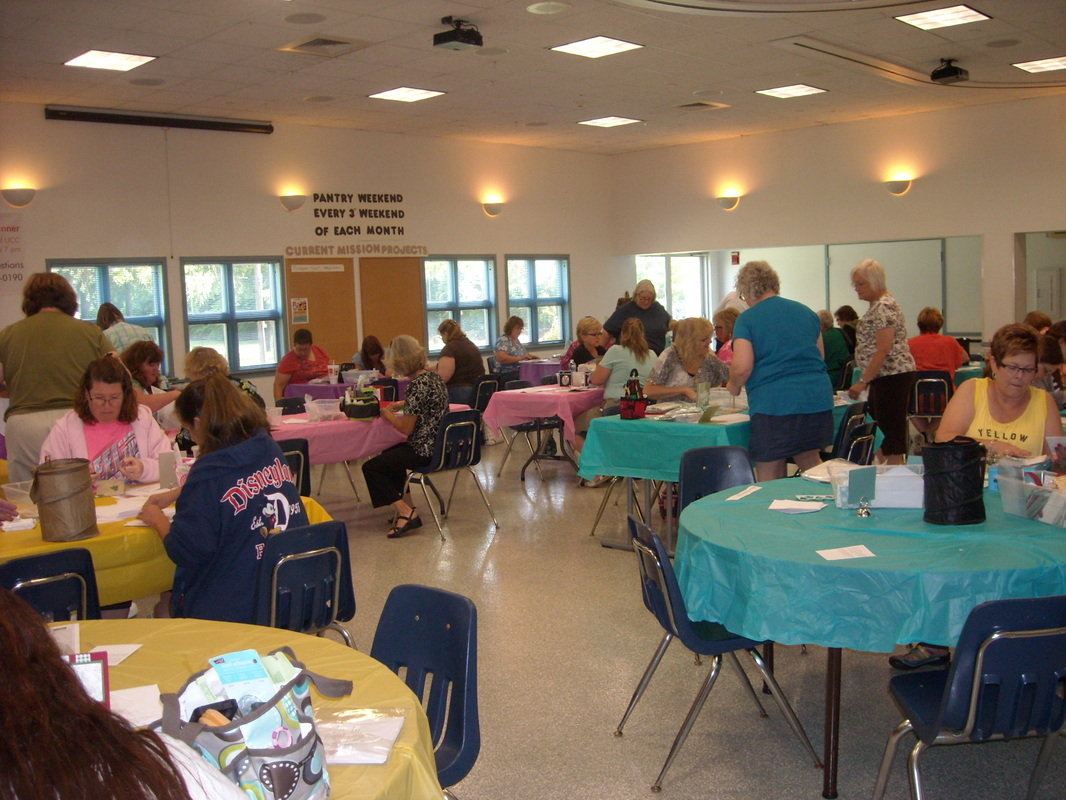
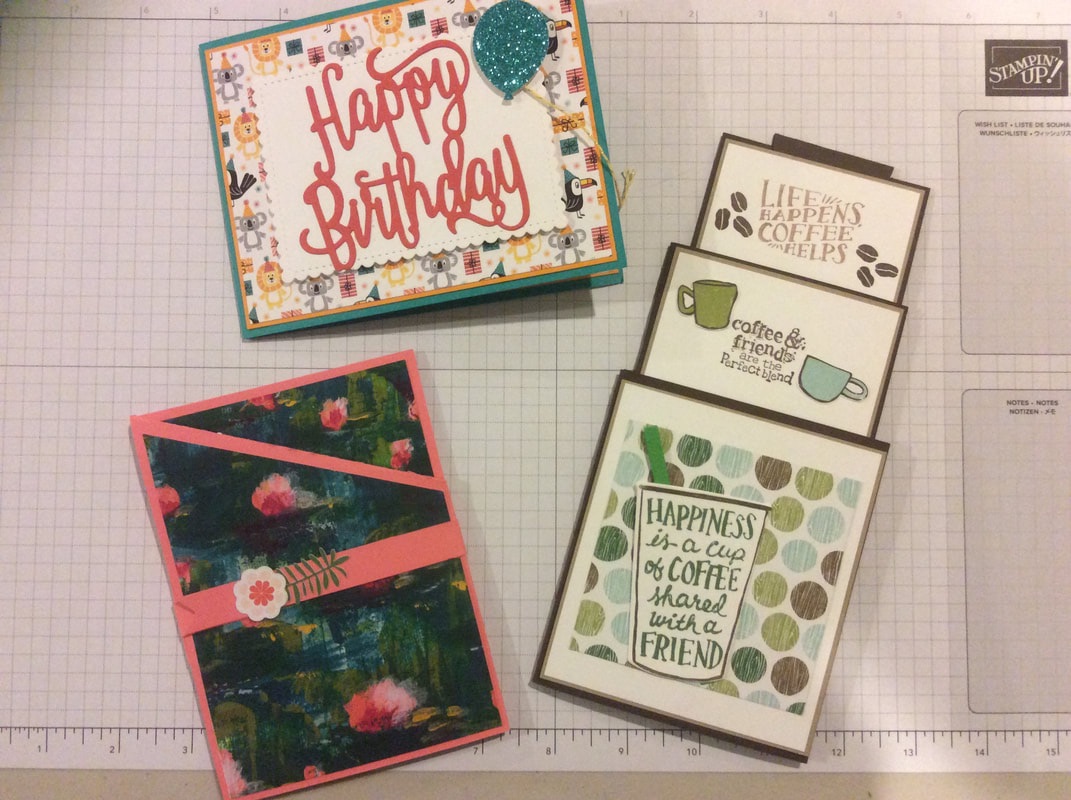
This month in VIP, we made Fancy Fold Cards. I have a board on Pinterest of ideas I want to try...when I have time to get around to them. I always like to follow YouTube videos since I am a visual learner and it helps figure out if I am folding the right way! Here are the three cards we made with the tutorials we followed.
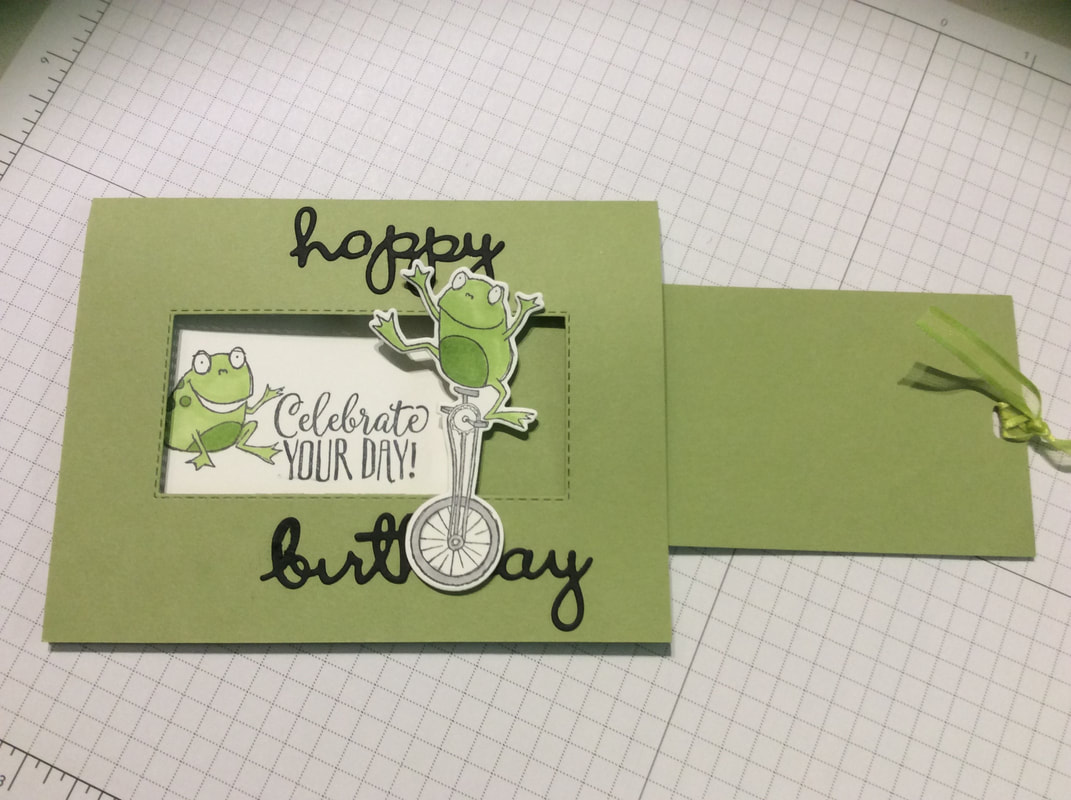
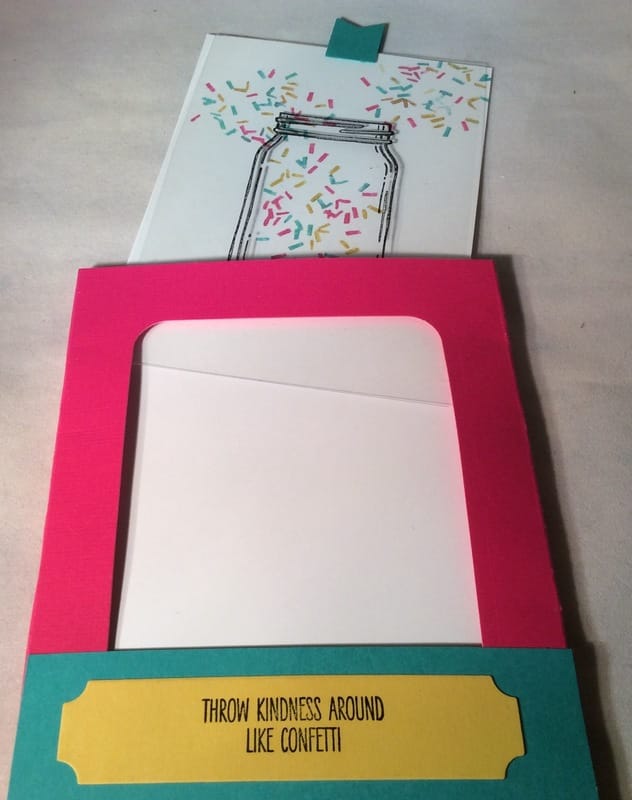
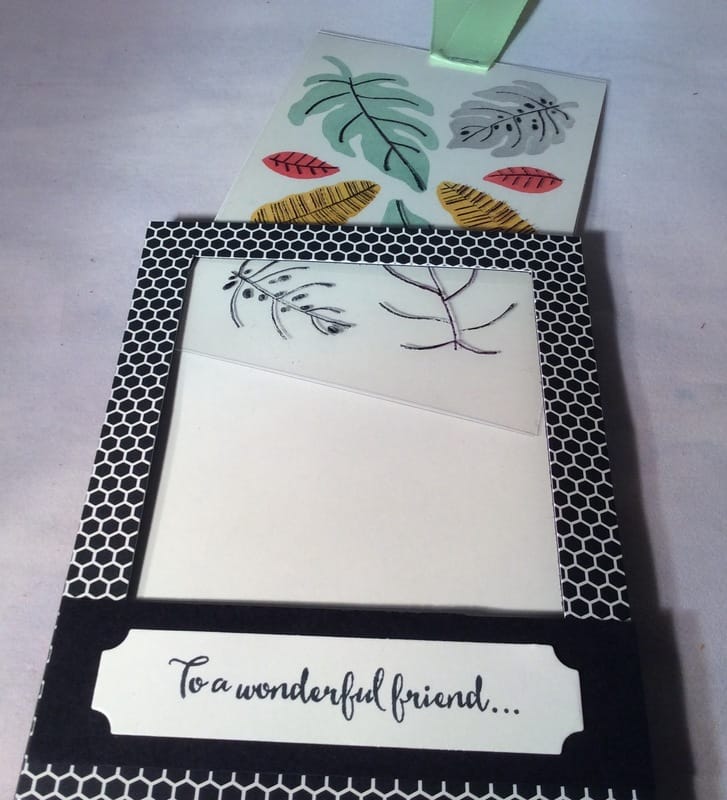
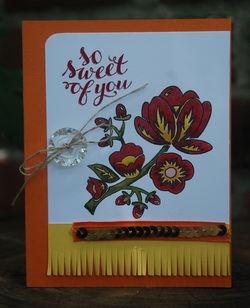
 
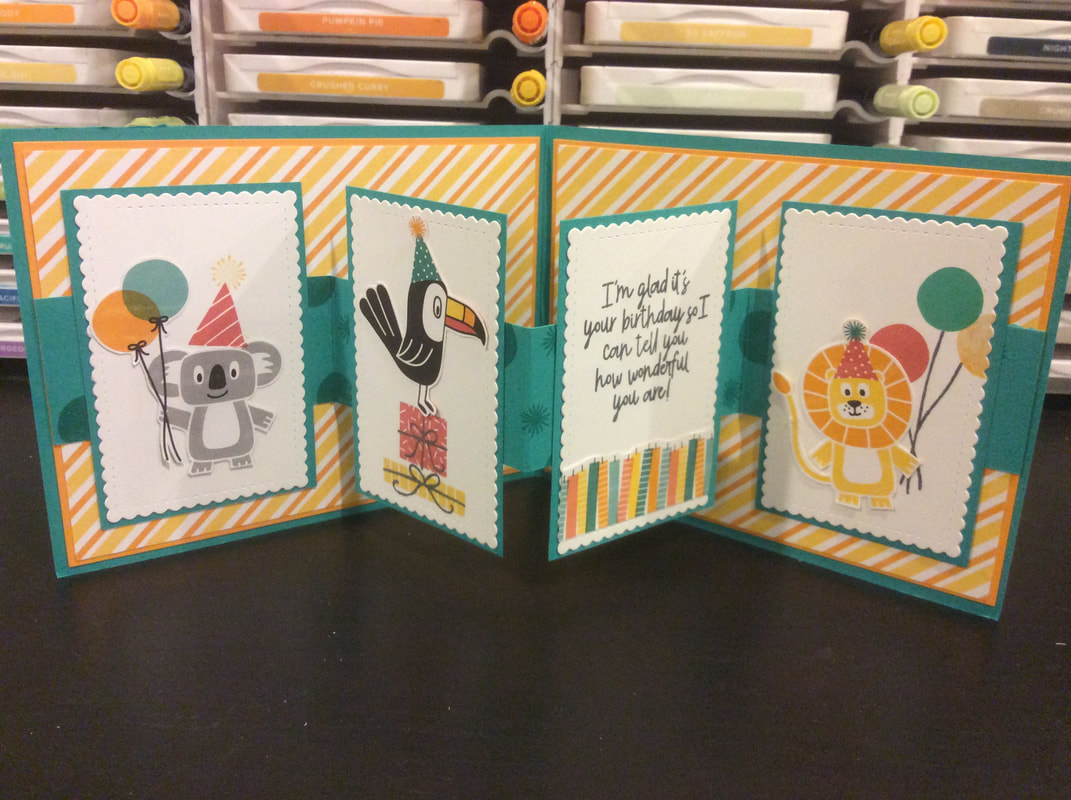
Beware, this card uses a lot of paper! And instead of stamping and die cutting like in the video, we just fussy cut out the images from the Birthday Bonanza DSP. I also skipped all the presents on the front and went with a (retired) simpler Happy Birthday die cut. For this card, the Birthday Bonanza stamp set works great, but also make sure to have some liquid glue!
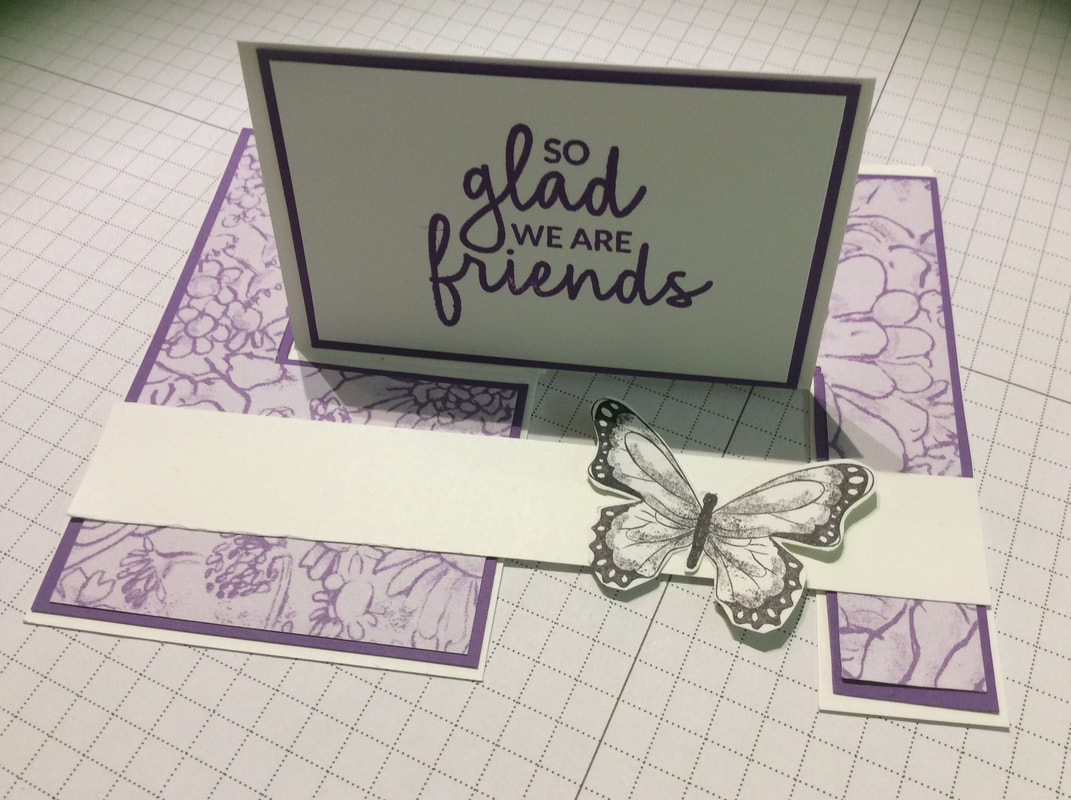
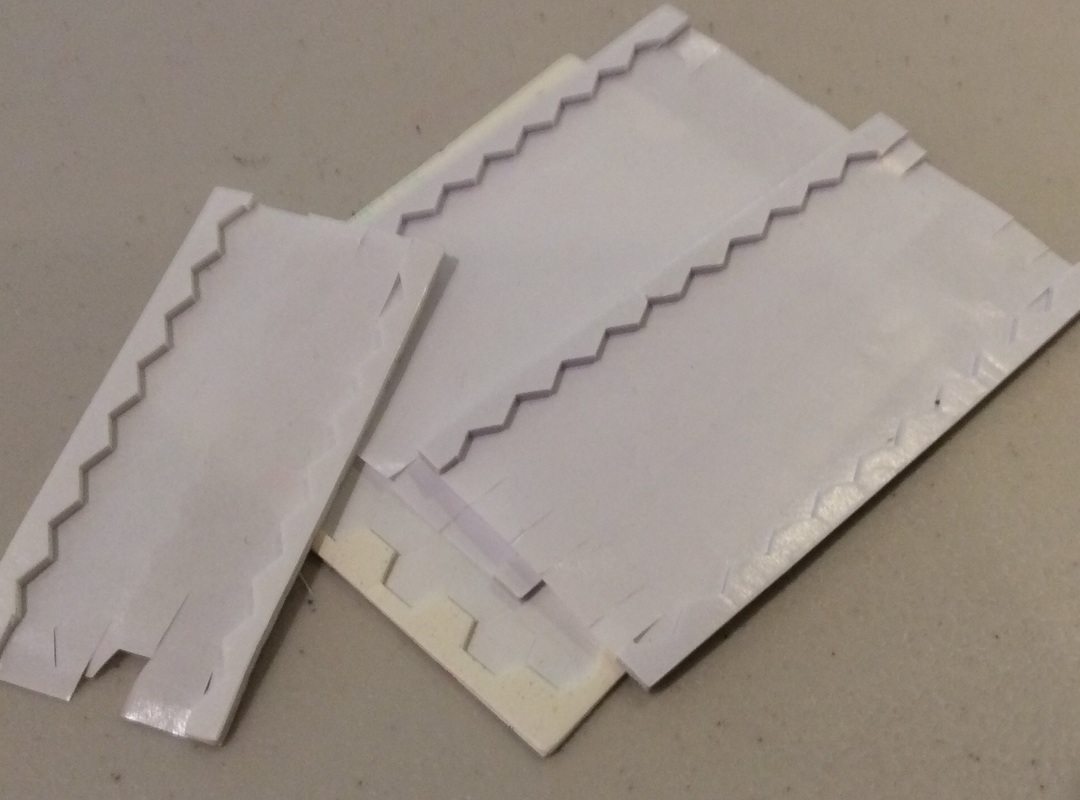
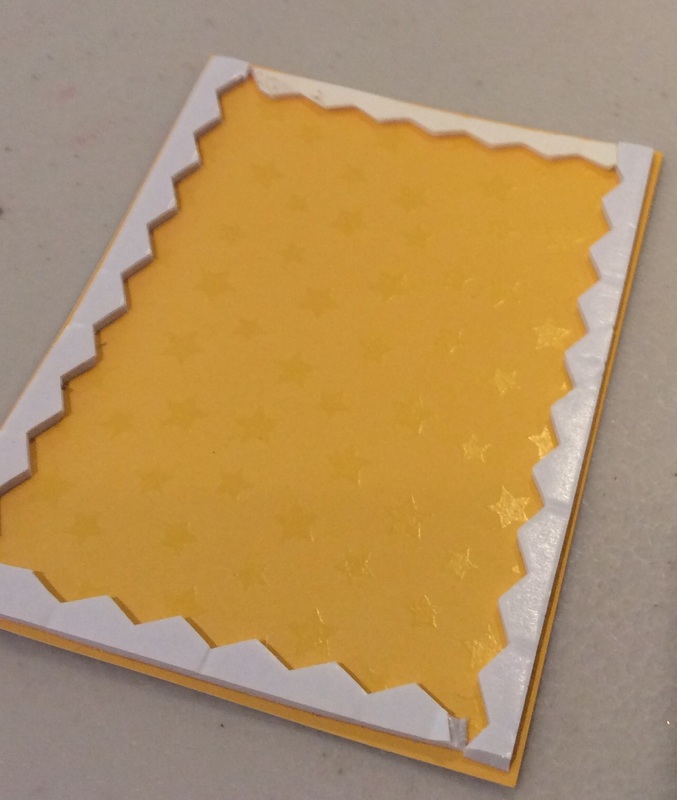
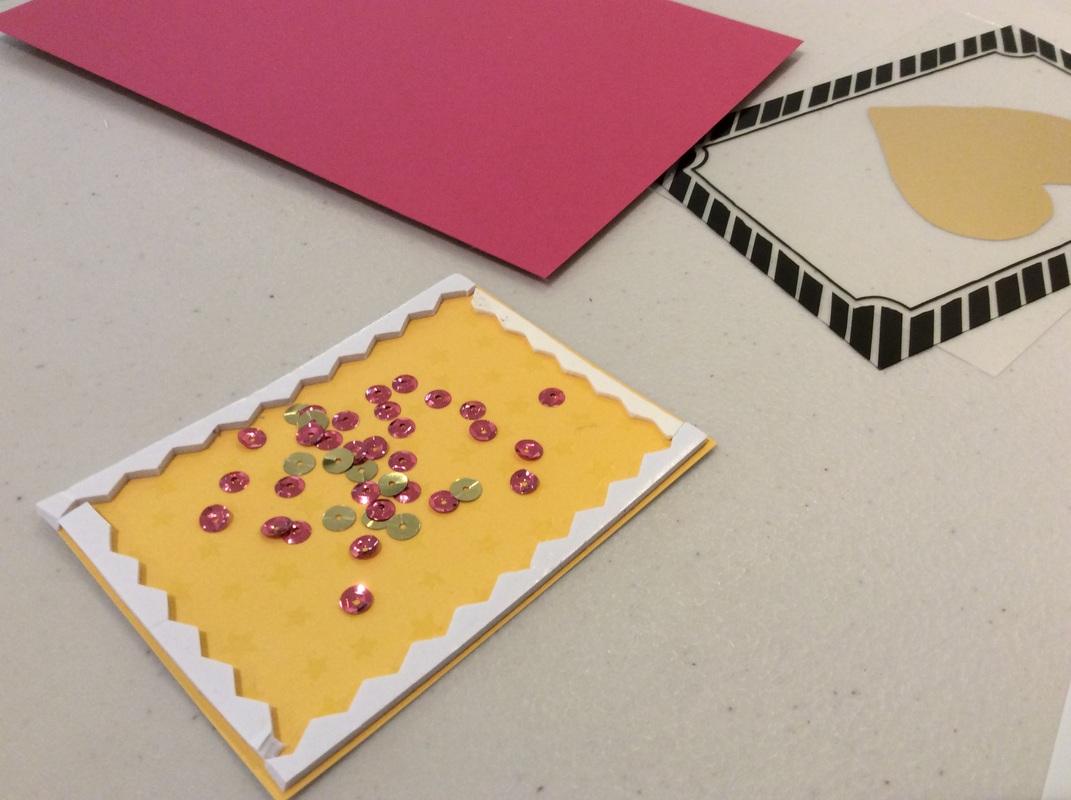
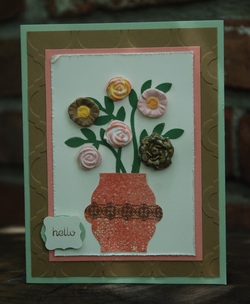
 
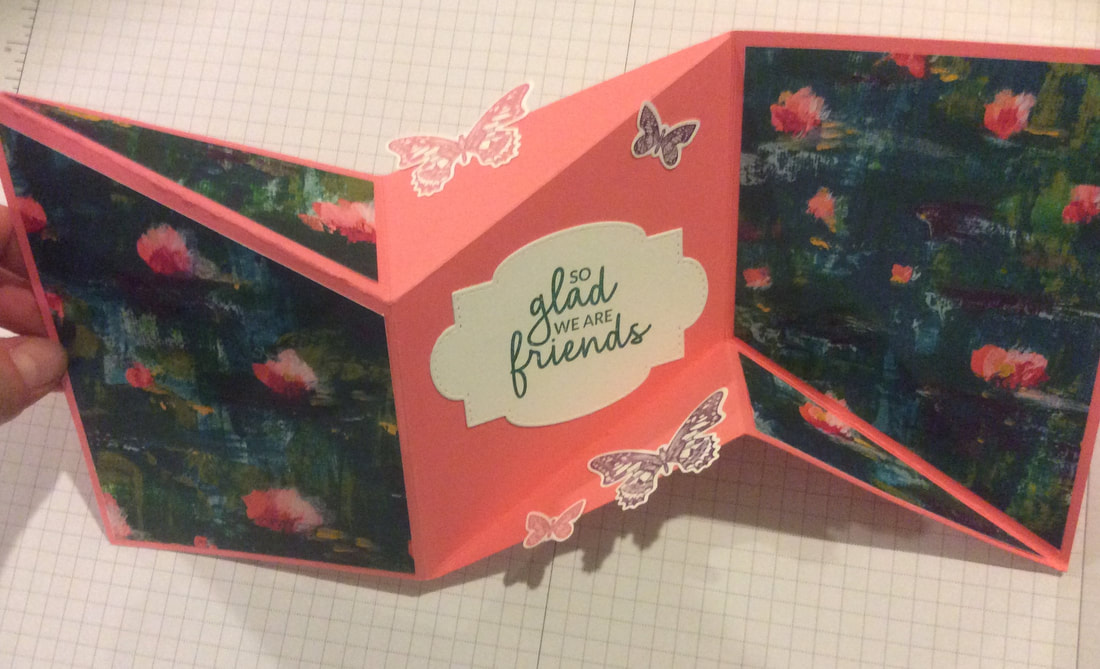
This card requires 12 x 12 cardstock, but you can make two cards out of one sheet. Stampin' Up! sells 12x12 cardstock in variety packs, by color family. The only colors we sell individually are Whisper White and Very Vanilla, which I realized I was out of when I started prepping this card! So we went with a Flirty Flamingo base to coordinate with the Lily Impressions DSP, free right now with a $50 order during Sale-A-Bration. The fun of this fold is having butterflies "fly off the card." So make sure you have some butterflies to add!
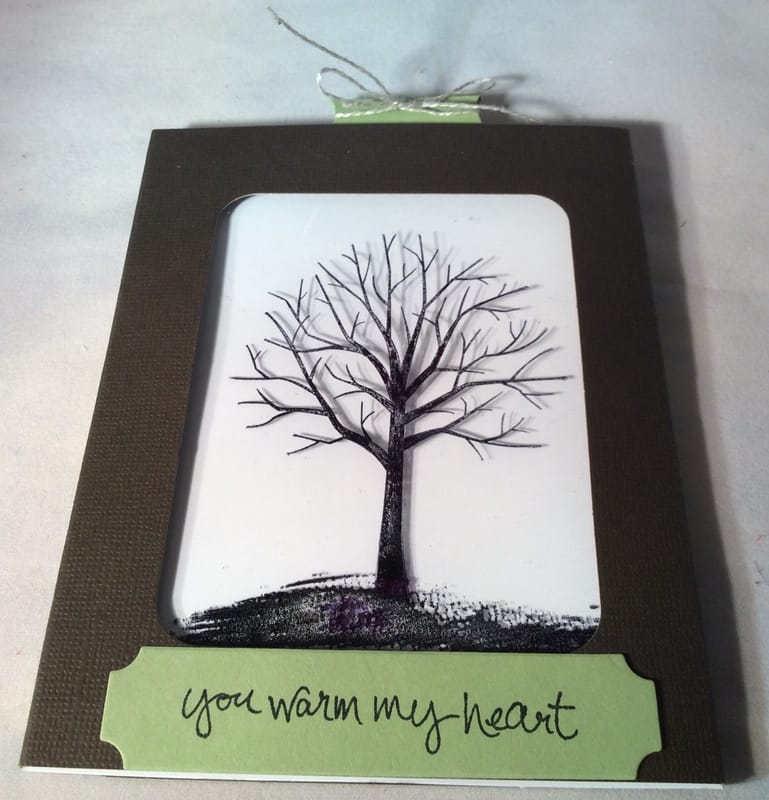
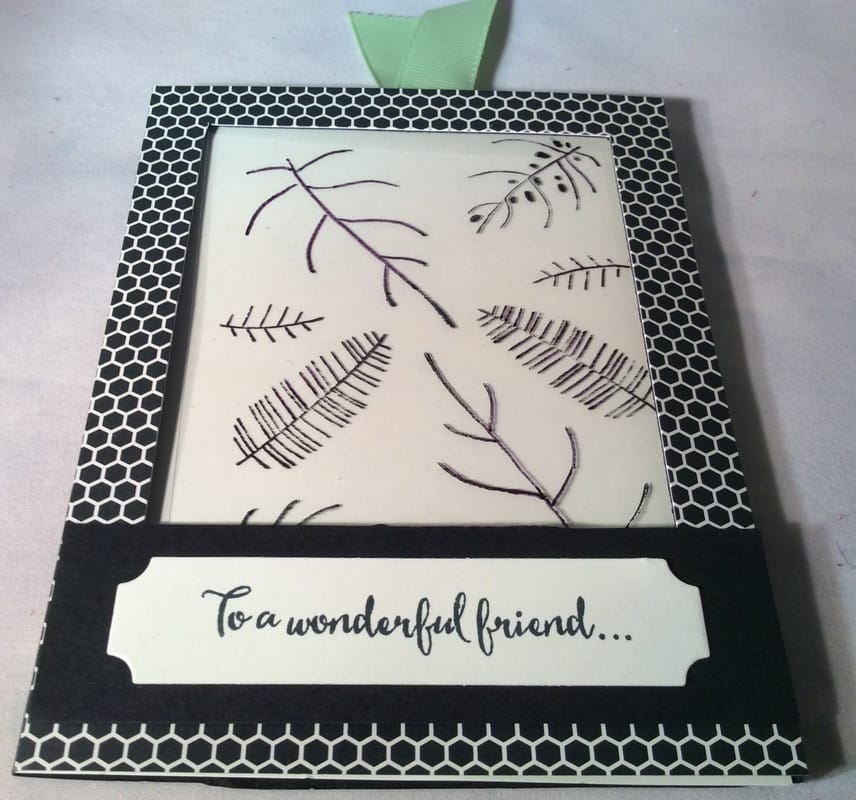
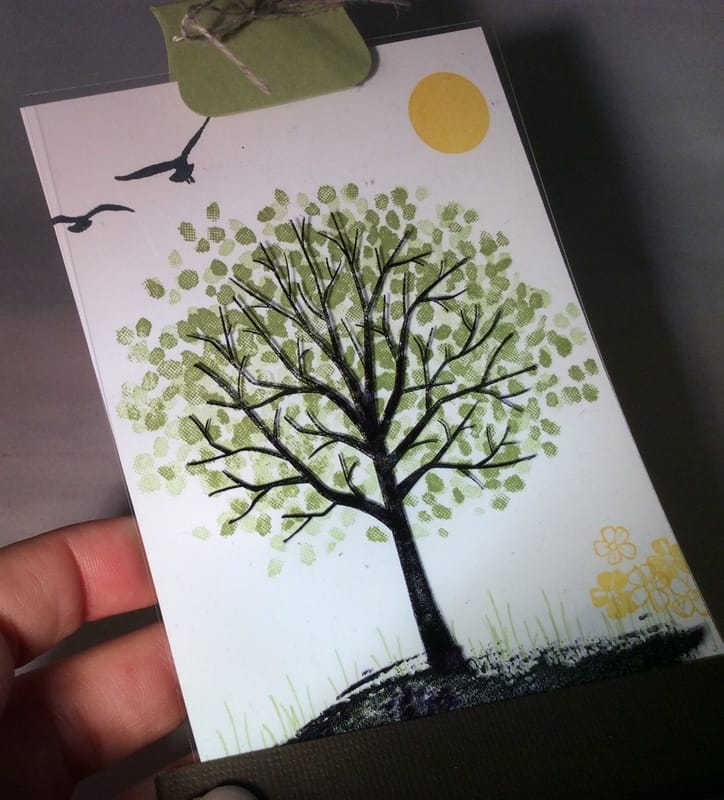
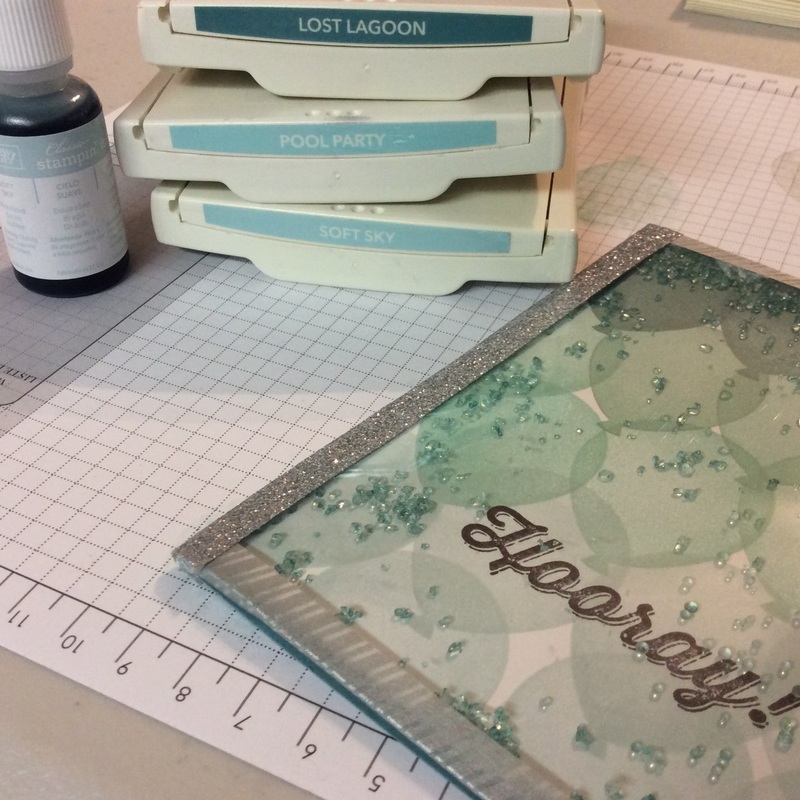
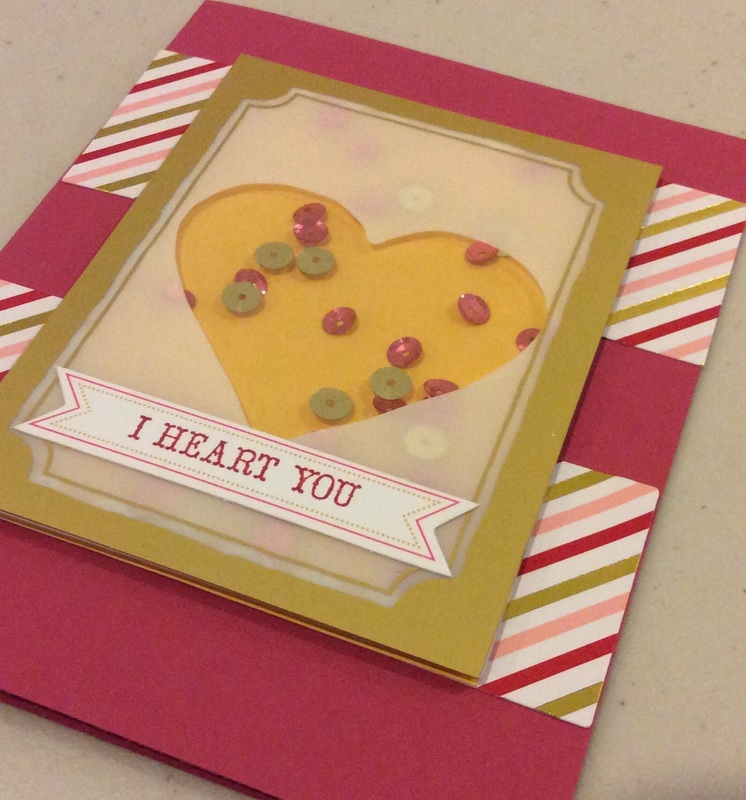
 
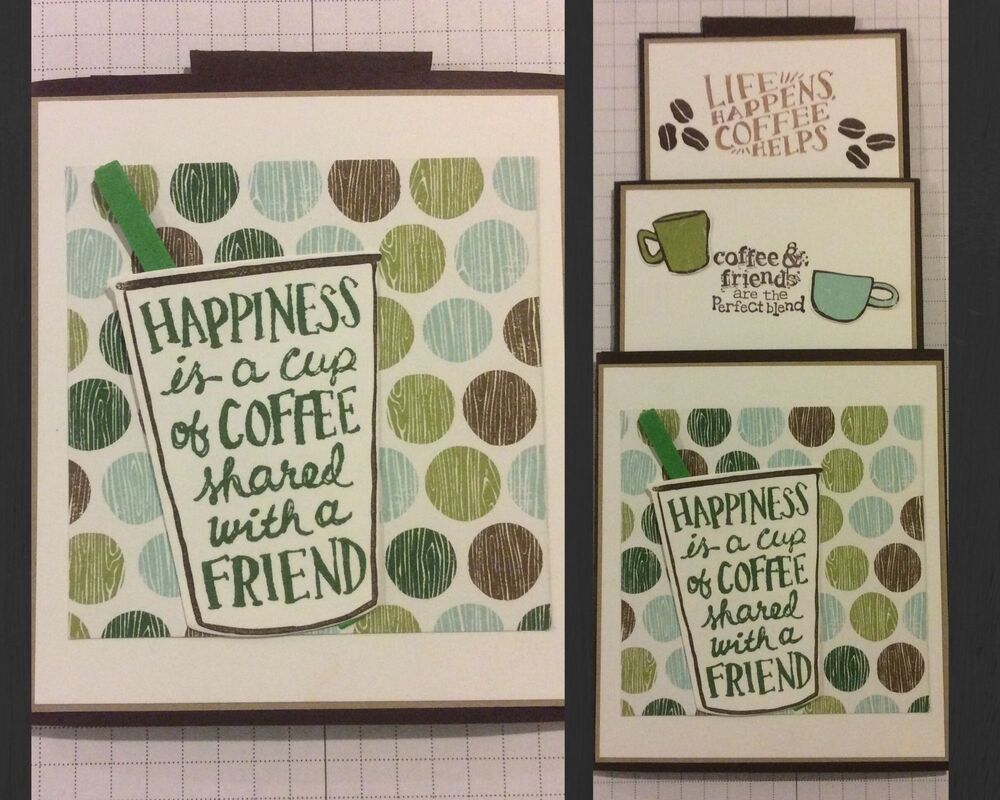
For this fun fold, we pulled out retired coffee stamps and paper to make a fun design. Once again, you need 12x12 cardstock for this, so we used Early Espresso. Just make sure you have a trimmer, tear & tape, and a ruler for this card! Which fold do you like best? Post a comment below!
0 Comments
The technique for VIP Card Club this month was Fun Folds! I have a Pinterest board just for these, and there are so many options to try! My brain doesn't think in 3D, so I look for ones with videos or templates. We made three different cards with three different folds. See links below if you want to try yourself!
Like I mentioned, there are some new products coming in March! See them here! For the first time ever, Stampin' Up! is offering products for sale which coordinate with Sale-A-Bration products, hence while they are only available in March. Plus, three new FREE options were added in February! Sale-A-Bration ends March 31, so be sure to get what you want before products are sold out or the sale ends!
Have you tried the Big Shot Embossing Mats yet? They are new as of June, and a fun way to get more milage out of your dies! Check out the video below to see the dies in action! We used them at the VIP Club this month where we made three cards. The first card used the Springtime Impressions Thinlits dies. The second card used the new Blizzard Thinlit die from the Holiday Catalog. And the third card used the Puzzle Pieces Thinlits. When you purchase them, they come with three components: a hard white plate, a ticker rubber grey mat, and a thinner rubber blue mat. I cut up the directions from the packaging and slipped them into a clear mount stamp case, then labeled it along the spine to store in a tub with my other Big Shot accessories. Such a fun addition to add to crafting! Happy embossing!
This month, our VIP group made cards using embossing tricks. All three cards were CASEd (Copy And Share Everything) from youtube videos. Below are the three cards we made, with the corresponding video.
This was the last VIP Club for 2017-2018.
We'll be resuming again in September, and I am thinking about adding another Club session each month. It's a great way to try new techniques in a smaller setting. We make 3 cards, in exchange for a $25 order, with your turn to be the host one month to earn free product! Let me know if you are interested in joining the fun! The VIP Card Club has taken the summer off, but we resume in August with fresh techniques! First up is practice with the new Embossing Paste, Palette Knives, and Pattern Party Decorative Masks! Check out this video to see it in action! We'll be making three cards, using paste in three different ways: adding glitter, sponging dried paste, and adding ink refill to dye the paste. Here are the cards we'll be making: Interested in learning new techniques? There is still space for 1-2 more members! Here are all the details!
This month in our VIP Card Club, we are making gel cards! I originally saw these on Dawn Griffith''s youtube video, and knew I had to try!
I have been saving little baggies that my SU supplies come in, but when I went to make these cards, I realized most of them had tiny air holes in them! So I went to Michaels and found some in the jewelry section. I then needed some gel, and found both a white and blue kind at the Dollar Store for $1 each. From there, I looked through my stamps to see which had water images and decided to use Bear Hugs, Seaside Shore, and Jar of Love. These cards are a bit heavy and you wouldn't want them to pop in the mail, so you might want to hand deliver them. I know whoever receives them will love them, especially if they love anything nautical! Magic cards have been on my "To-Make List" for a long time, so I am excited to try them in our next VIP Club! Who wouldn't want a card that looks plain and simple and transforms before their eyes with color and surprise! We'll be making three cards using the Jar of Love, Sheltering Tree, and Botanical Blooms stamp sets. A couple other must haves for this technique: Window Sheets, Archival Ink, and the Project Life Dies. BeforeAfterNow how did I do that? Well, thankfully Stampin' Up! has a full channel of videos to inspire us card makers! What do you think? Magic, right!
Want to learn more techniques? Contact me if you are interested in joining my next Card Club, starting when six people sign up!
Next, I used leftovers from the January 2015 Paper Pumpkin kit to add those strips behind, adhered on to a piece of Rose Red cardstock, and then stamped the greeting from the And Many More stamp set. A fun card, perfect for Valentine's Day!
Last weekend, I was able to make the trip with my friend Heather to Illinois for a card making weekend! We arrived Friday night, just in time for my upline, Chris', techniques club. We made these awesome cards: ![]() Technique #1: Clay Flowers I miss making vintage inspired cards at Chris' classes! She used the Simply Pressed Clay and Molds to make these flowers. They are colored with markers, and the one on the bottom right was heat embossed with gold embossing powder. The leaves are from the Bird Punch. The vase was made with a framelit trimmed down, heat embossed with gold embossing powder and then clear embossed all over to give it a shiny look. I have never used clear embossing powder, so I love trying new things! ![]() Technique #2: Solid Image Tracing Technique This adorable card was stamped using a solid image stamp from the Hello Darling set in a light color. Then we used a fine tip black marker like the Project Life Journaling Pen to trace the image. Then, the image was colored in using Blendabilities to create this unique look! The greeting is from the Hostess set Hello There stamped in Cherry Cobbler. The embellishments use the Fringe Scissors, Vintage Buttons, Linen Thread, and Gold Sequins. After staying with Chris, the next day we all headed to our upline, Gelnda Travelstead's Sneak Peek Holiday Catalog Stamping Event where we made 20 different cards using 5 new stamp sets from the forthcoming Holiday Catalog (which starts August 28, 2014)! ![]() Stamp Set #1: For All Things I definitely think I could get a lot of mileage out of this set! I love the watercolor look and the versatility. Notice how you can use ink to get the whole text "Grateful for You" (bottom right) or color with your marker to get just one word "Grateful" (top right). ![]() Stamp Set #2: Endless Wishes This stamp set has been a popular photopolymer which has returned to the Holiday Catalog. I love the look of white snowflakes on Crumb Cake cardstock, as seen on the bottom right. The new Tree Punch makes this a cute, easy card to mass produce. ![]() Stamp Set #3: Letterpress Winter This set makes a sort of snowflake image. I love the fact that it is photopolymer which means you can arrange the stamps on your clear blocks how you want. So in one card the season's greetings is stacked and on the other it is on one line. ![]() Stamp Set #4: Mingle All the Way This set is one that I was left wishing I had bought. The card on the top left can be punched out with a punch and the other three used framelits. The bottom right was my first attempt at a shaker card. There is a clear bag in the window there with confetti stars that move when you shake it! A little difficult, but awesome! ![]() Stamp Set #5: Ornamental Pine Of the stamps sets we used, this is the only one I had purchased, so you might see some of these cards at my Christmas card class in December. I love the wreath on the door card! |
AuthorCheryl Piotrowski Categories
All
|